What a proactive nudge is
A proactive nudge is a small message that appears above your widget launcher before the visitor opens it — a gentle “Have questions about pricing? I can help.” at exactly the moment they are weighing a decision. Used well, nudges turn passive browsers into conversations. Used carelessly, they are noise. This guide shows how to build rules that fire at the right time, to the right person.
Proactive rules live under Flows → Proactive outreach.

How nudges behave
A nudge appears as a preview bubble above the launcher — it does not force the chat open. The visitor stays in control: they can click the nudge to open a conversation, or ignore it and keep browsing. You can show up to three nudges stacked at once, with a single “clear all” dismiss. This restraint is deliberate — a nudge invites, it does not interrupt.
Step 1: Create a rule
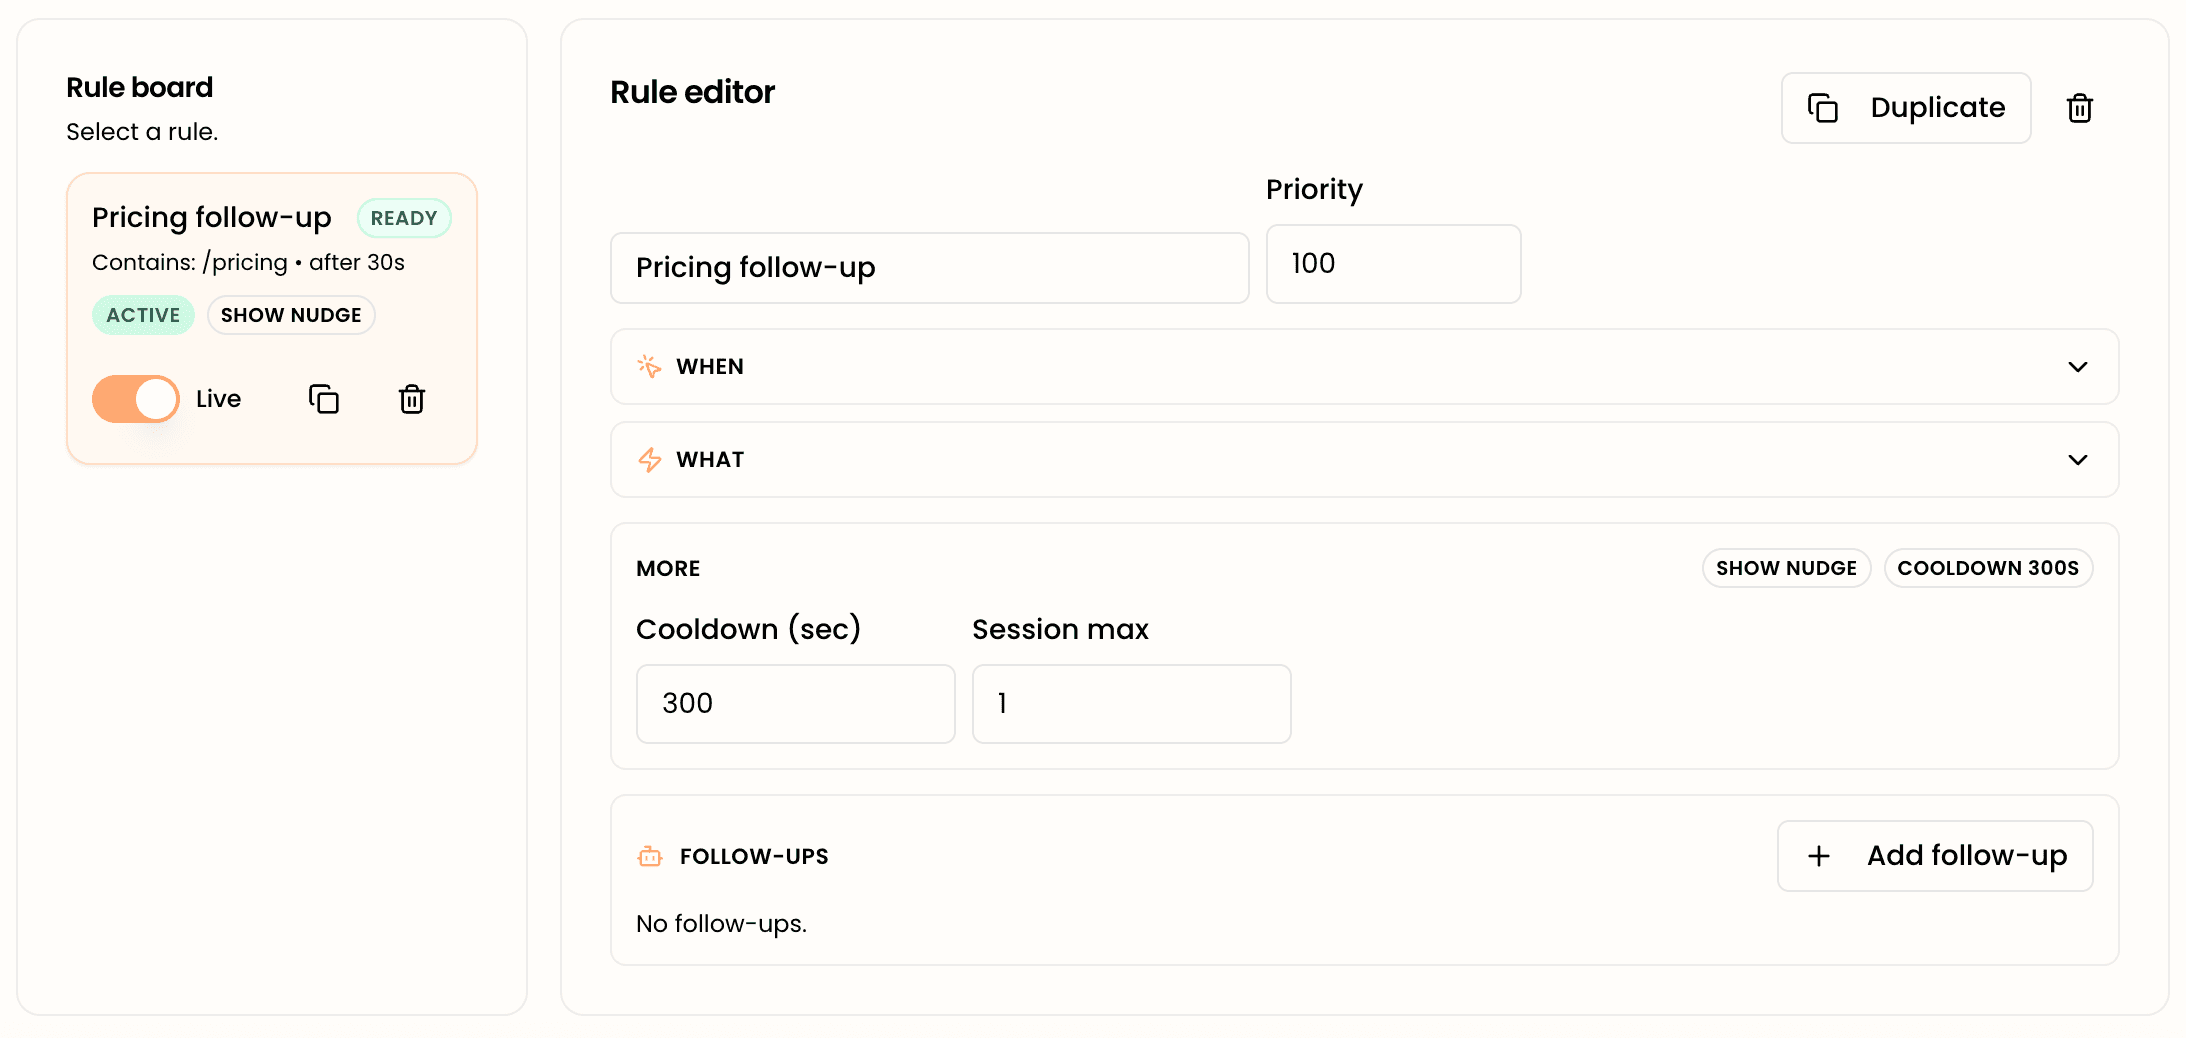
In the Rule board, add a rule and give it a Rule name (something descriptive like “Pricing follow-up” — names are for you, not the visitor). Set a Priority to control which rule wins when more than one could fire, and a Delay in seconds before the nudge shows after conditions are met.
Step 2: Choose your triggers
Triggers decide when a rule fires. Glimpze gives you several, and you can combine them with and / or logic:
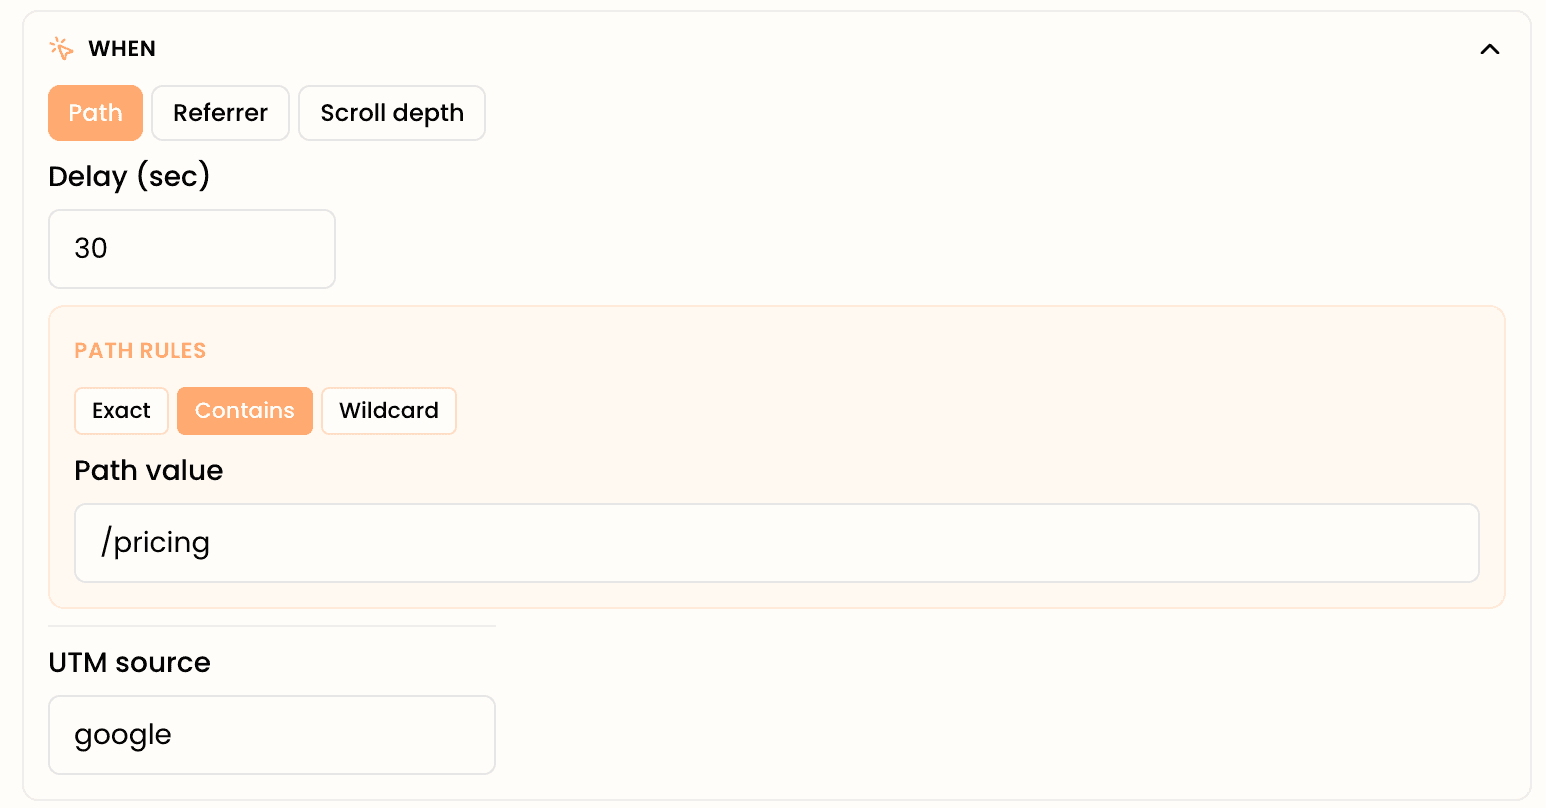
Path rules — match the page the visitor is on. Enter a path value like /pricing and a match mode (exact, contains, or glob). Great for surfacing a relevant offer only on the pages where it makes sense.
Time on page — fire after the visitor has spent N seconds on the page, a good signal of genuine interest.
Scroll depth — fire once the visitor scrolls past a percentage of the page, e.g. reaching the bottom of a long landing page.
Exit intent — fire when the visitor's behavior suggests they are about to leave.
UTM source — match the campaign source (for example google), so visitors from a specific ad or email see a tailored message.
Referrer — match where the visitor came from (for example linkedin.com).
Combine these thoughtfully. “On /pricing and after 20 seconds” is a sharp, high-intent trigger. “Exit intent or scroll depth 80%” casts wider for a last-chance prompt.
Step 3: Write the nudge
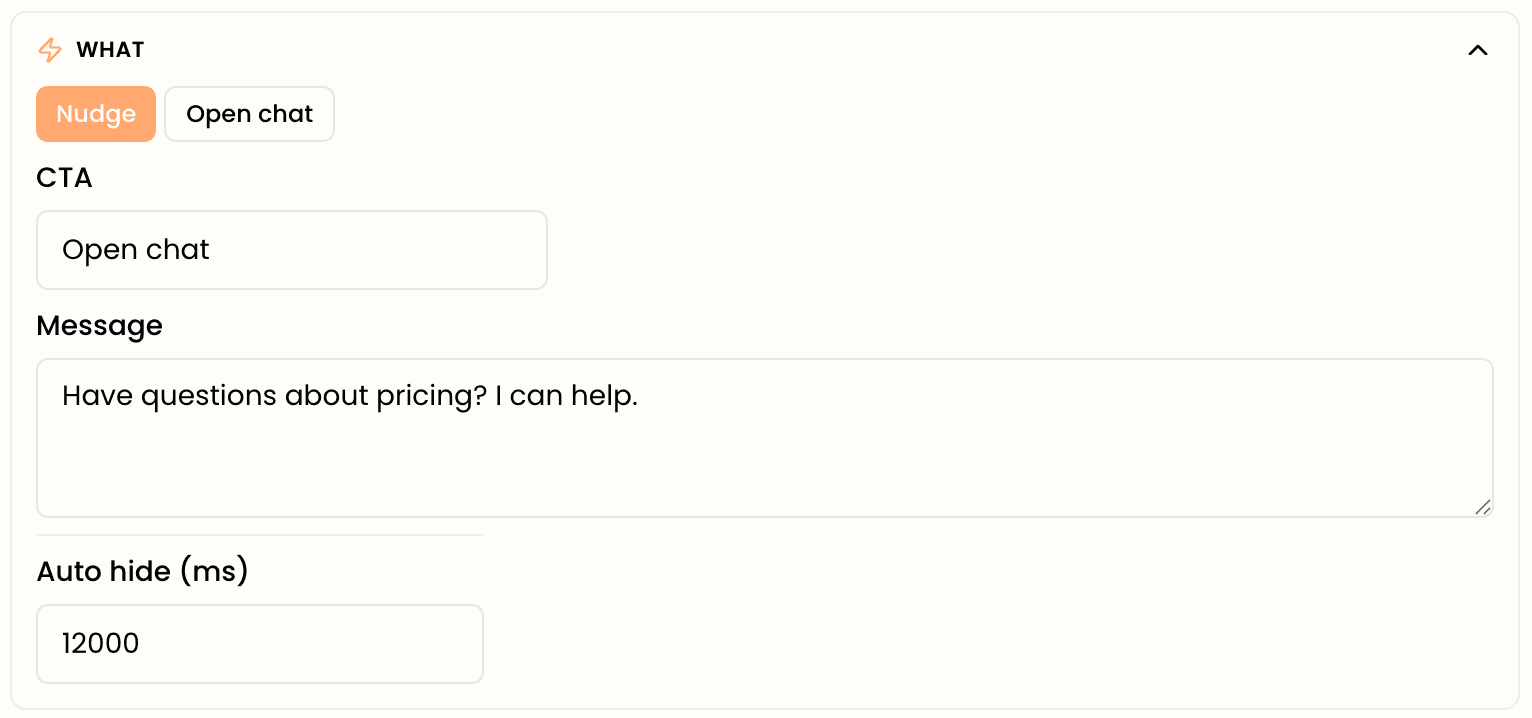
Set the Message the visitor sees (e.g. “Have questions about pricing? I can help.”) and the CTA label on the button (e.g. “Open chat”). Keep the message short, specific, and tied to the trigger — a pricing-page nudge should mention pricing. You can also set Auto hide (in milliseconds) so the nudge quietly disappears if it is ignored, keeping the experience light.
You can also choose what happens on click — show a nudge bubble, or open the chat directly into the conversation.
Step 4: Add follow-ups (optional)
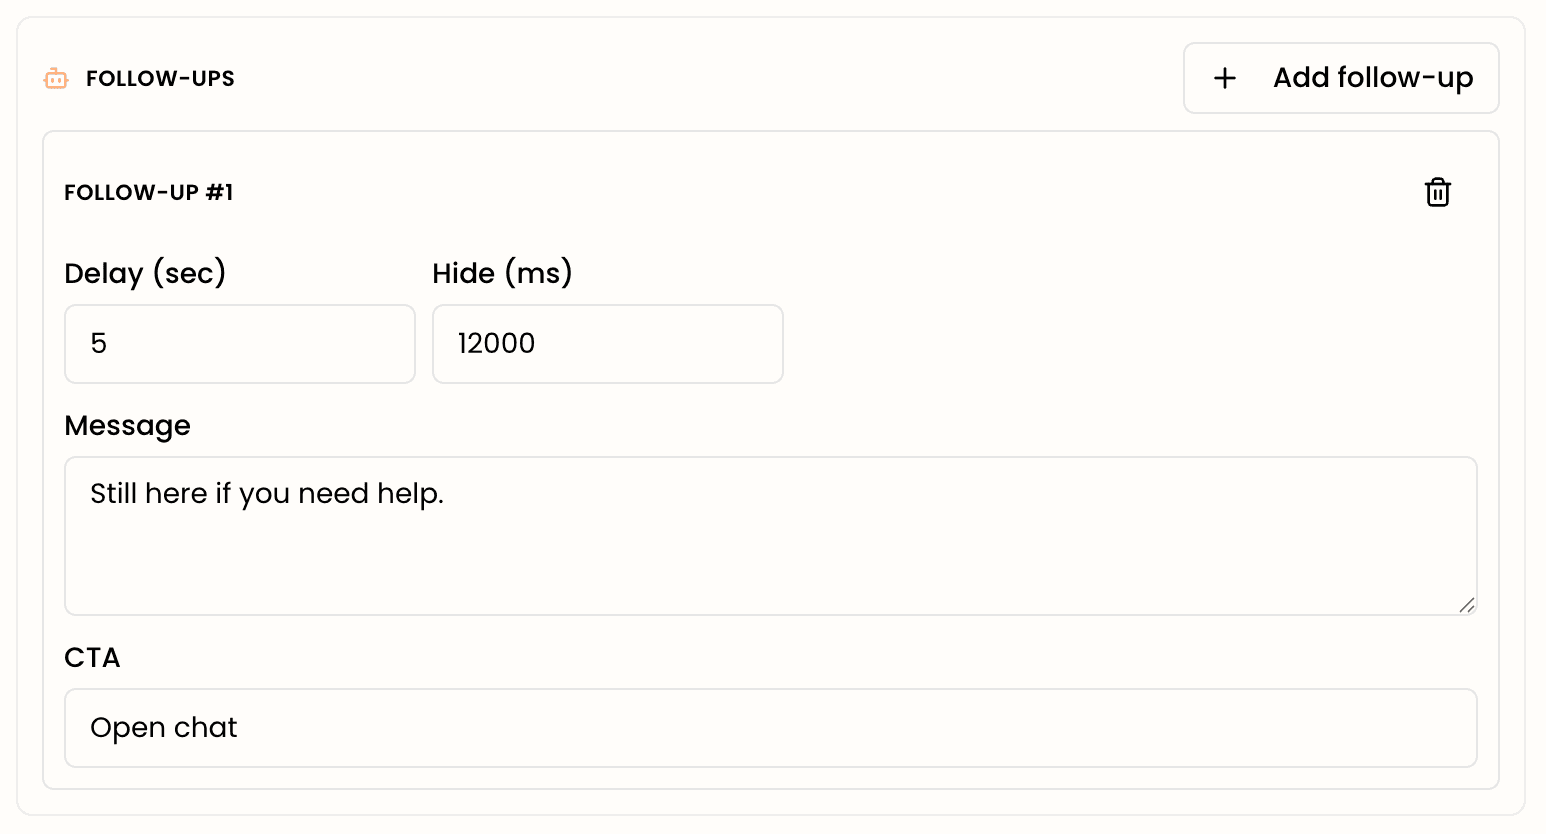
A single nudge that is ignored can be followed by a second, gentler one. In Follow-ups, add one or more messages, each with its own Delay (seconds), Message, CTA, and Hide timing. Delays stack in sequence, so a follow-up's delay is counted after the previous message. Use this sparingly — one well-timed follow-up can recover a near-miss; three feels like nagging.
Step 5: Cap the frequency
Under More, set frequency controls so a visitor is not shown the same nudge repeatedly. Cooldown (seconds) sets how long before the rule can fire again, and Session max caps how many times it can appear in a single session. Sensible caps are what separate a helpful prompt from an annoying one.

A worked example
Say you want to catch hesitant pricing-page visitors. Create a rule named “Pricing follow-up”: trigger on path /pricing (contains) and time on page ≥ 20 seconds; message “Have questions about pricing? I can help.”; CTA “Open chat”; one follow-up 30 seconds later offering to book a quick call; cooldown of a few hours and a session max of 1. That is a single, well-targeted nudge that respects the visitor's attention.
What to do next
- Welcome messages & flows — how proactive copy interacts with your standard welcome greeting.
- AI actions & workflows — let the conversation a nudge starts end in a booked meeting or a live call.